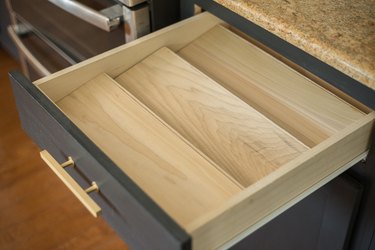
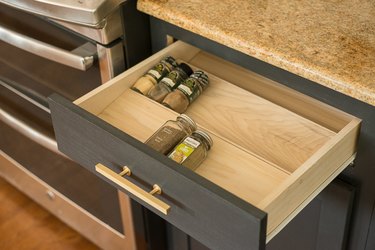
When you're gathering ingredients to cook the perfect meal, grabbing the spice you need is much easier when you can see all of your options. Follow these steps to create a spice rack that is customized to your kitchen drawer, and you'll gain a well-organized home for your collection. Whether you're making chicken drumsticks cooked with garlic powder or lobster tails sprinkled with simple salt and pepper, you'll never be at a loss for where to find flavor.
Video of the Day
Things You’ll Need
-
Measuring Tape
-
1/4-inch thick x 24-inch wide x 24-inch high pre-finished Poplar plywood
-
1/4-inch thick x 6-inch wide x 5-foot long Poplar
-
Stapler
-
Brad nails
-
Wood glue
-
Circular saw
-
Saw horse
-
Square
-
Clamps
-
Safety glasses
Step 1: Measure the Drawer
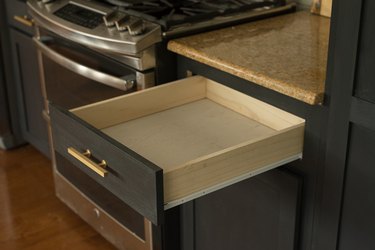
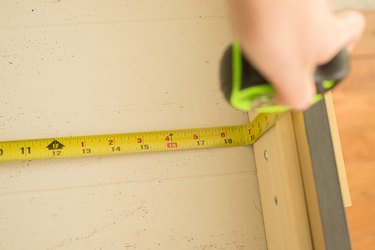
Use measuring tape to get the width and length of the drawer. For this tutorial, the drawer dimensions are 17 inches wide and 18 1/2 inches long.
Step 2: Cut the Spice Rack Base
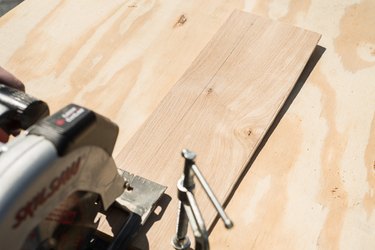
Sketch the drawer measurements on the piece of Poplar plywood using a square. Once you have your lines drawn, clamp the board down on the workspace and use a circular saw to cut the base out. After the plywood has been cut, check to make sure it fits within the drawer.
Warning
Always wear safety glasses, and heed all safety instructions for the saw that you are operating.
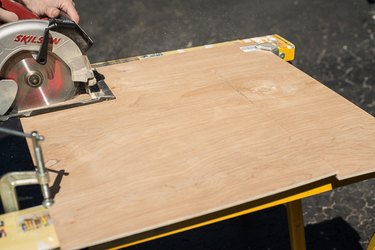
This step was done with a circular saw, but it would be easiest with a table saw. If those tools aren't available, you can use a jigsaw.
Step 3: Measure and Cut Spice Holders
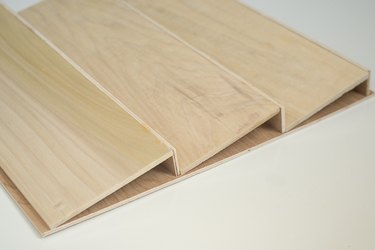
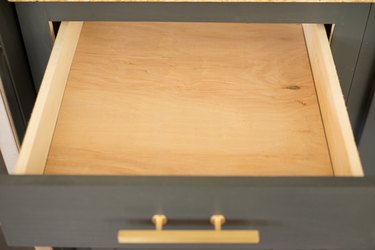
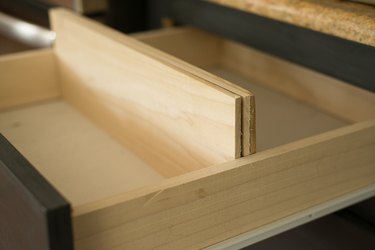
The sloped pieces of the insert are where the spices will rest. After measuring a few different brands of spices, the majority of the spice bottles were between 3 inches and 5 inches. The Poplar board is sold as a 1/4-inch by 6-inch by 5-foot board. But, the board actually measures 5 1/2 inches in width, not 6 inches. The 5 1/2-inch width is perfect for the spices to fit on.
Take the 1/4-inch x 6-inch x 5-foot board and place a mark at 17 inches (the width of the drawer). Use the circular saw to cut the board at 17 inches. Repeat this process twice. You will now have three pieces that are 5 1/2 inches x 17 inches. Check to make sure they fit within the drawer.
Step 4: Measure and Cut Risers
For this specific drawer, the rise (or height) of the sloped pieces could not be very high. It worked best for the rise of this drawer to be about 1.5 inches.
Using the circular saw, cut three 1 1/2-inch x 17-inch strips out of the leftover plywood from the base. Once you have the risers cut, check to make sure they fit well within the cabinet.
Step 5: Attach Sloped Pieces to Risers
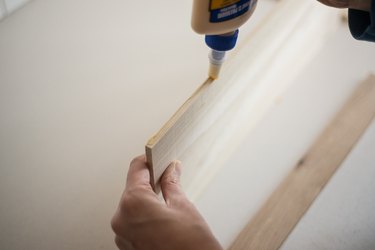
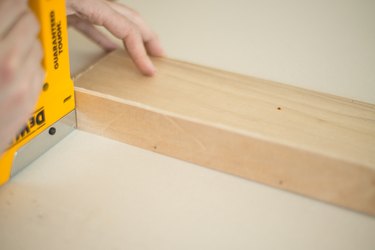
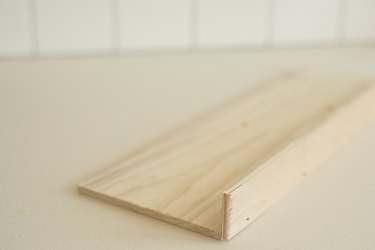
Put wood glue on one edge of the sloped piece (the ones that you cut in Step 3). Next, grab a riser. Place the riser vertically on the edge of the sloped piece (see below for clarification). Staple the brad nails through the riser into the sloped piece, every few inches along.
Step 6: Assemble the Rack
Flip all the pieces over and check the fit within the cabinet. If you have a good fit, use the stapler with the brad nails to attach the risers to the plywood base. One brad near each side should be plenty.
