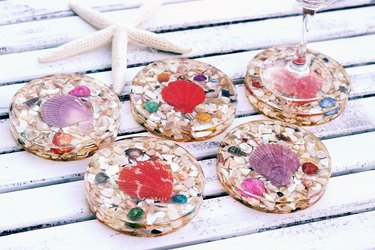
If you can't get to the beach, bring the beach to you with these DIY seashell coasters. You can practically hear the seagulls and smell the saltwater as you place your drinks on them. The shells are encased in clear resin, so each coaster looks like a little tide pool. They will definitely add an aquatic twist to your next pool party, luau or summer gathering. And remember, you can't spell "coaster" without the "coast."
Video of the Day
eHow may earn compensation through affiliate links in this tutorial.
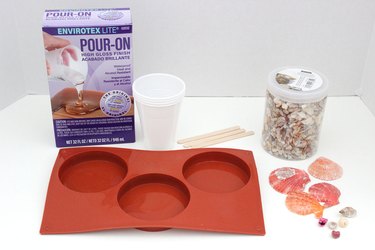
Things You’ll Need
-
Pour-on resin mix
-
Plastic cups
-
Black marker
-
Wood stir sticks
-
4-inch round silicone mold
-
Broken shell filler
-
Seashells
Step 1: Mix the Resin
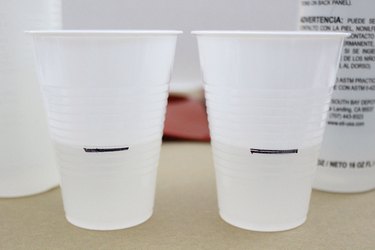
Working with pour-on resin mix sounds like it would be difficult, but it is actually very easy. And the results are so professional-looking. When you purchase a resin kit, it comes with two bottles — the resin itself, and the hardener. While you should follow the manufacturer's specific instructions included with the kit, the basic technique starts with pouring an equal amount of the two components in separate cups. Make identical marks with a black pen on the outside of the cups to help you measure evenly.
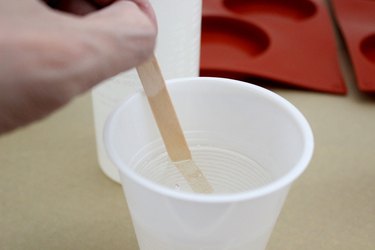
Pour the contents of both cups into a third cup, and mix them together in this cup with a wooden stir stick for two minutes. Your exact time may be different depending on the brand of resin you use. After two minutes, transfer the mixture into a fourth, clean cup and mix for one more minute with a new stir stick.
Step 2: Pour the First Layer
The purpose of the first layer is to create a smooth, flat bottom for the coaster. Pour a very thin layer of mixed resin into the 4-inch round silicone mold to just cover the bottom. You'll notice that bubbles immediately begin forming. To remove the bubbles, blow on them with a straw or run the flame of a lighter quickly over the resin. Let this layer dry for about 8 hours. Check the manufacturer's time recommendations.
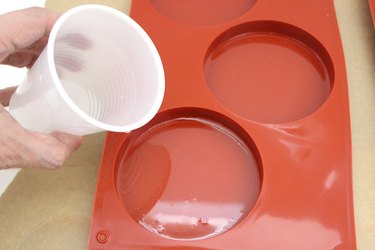
Tip
Instead of a silicone mold, you can also use large jar lids, in which case the resin will remain in the lids and not have to be removed from the mold. However, I prefer using the silicone mold because I like being able to get a clear view of the sides and bottoms of the coasters. Also, it's difficult to find jar lids that are deep enough to hold the resin and shells.
Step 3: Add Shells and Second Layer of Resin
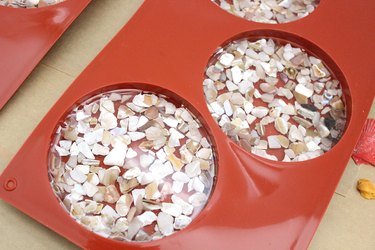
For a decorative base, place broken shells on top of the thin layer of hardened resin. You can also use sand, but the broken shells add a nice sparkle to the coasters. Then mix another batch of resin, and pour a thin layer to cover the broken shells.
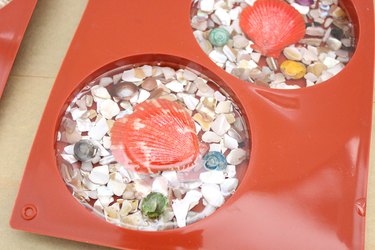
While the resin is still wet, place a large, flat shell in the center of the mold along with smaller shells around it. These shells will be sitting in a shallow layer of resin. If you were to completely submerge the shells at this point, they might float to the surface. Having them sit only partially covered locks them into place when the resin dries.
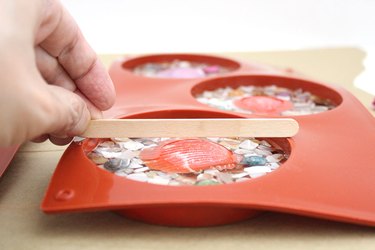
To make sure the shell in the center will not extend past the rim of the mold (and thus make a lumpy coaster), slide a flat stick across the top of the mold. If it doesn't touch the shell, you're good to go. Again, check for air bubbles, and allow the resin to harden for eight hours.
Step 4: Add the Top Layer of Resin
Mix another batch of resin, and pour it into the silicone mold all the way to the rim. The shells should now be completely submerged in resin. Remove any air bubbles that form with the straw or flame method. If a few bubbles do persist, they will look perfectly fine in the coasters because there are frequently bubbles in tide pools anyway. Now allow the resin to harden for a full 24 hours.

Tip
If your work environment is dusty, cover the finished resin molds with an open upside down box to keep any dust from settling on the surface.
Step 5: Remove from Molds
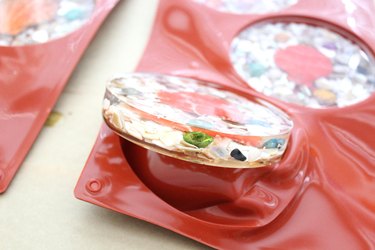
After 24 hours, tap on the surface of the resin. If it feels like hard glass, you know it's ready. Then pull back the silicone mold, and the coasters will pop right out. Notice how you can see the shells from the side of the coaster like you're looking at an aquarium.
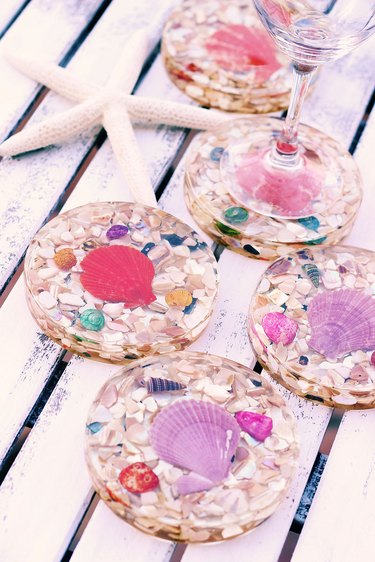
I don't know if it's my imagination, but I'm pretty sure piña coladas taste ten times better on these seashell coasters.
Buy materials for this tutorial:
Pour-on resin mix
4-inch round silicone mold

